
It was really important to me to get this area of the kitchen right. (This is one of Darren’s great pictures for the KBB shoot which obviously shows it at its best) I knew I wanted to keep the island clear, which meant that this little run needed to house not just the sink but the ‘breakfast station’ and the drying up. And I wanted it to look nice. Or at least, like the boys’ bathroom, I wanted it to be able to look nice. Because we all know that sinks attract really quite impressive levels of detritus, as my under-sink area so effectively demonstrates.

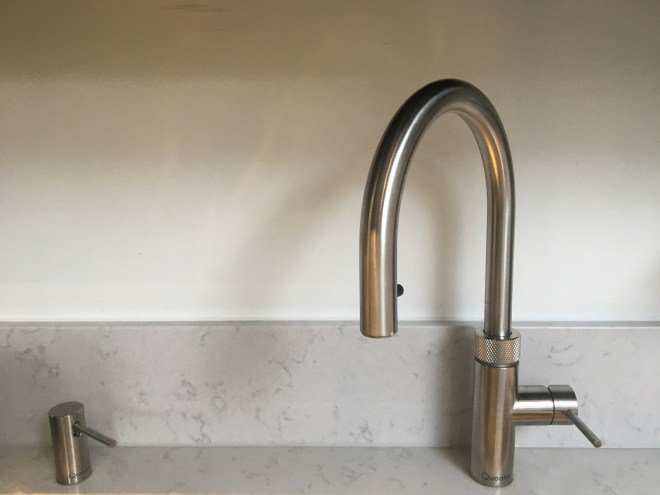
The solution was a mix of higher budget investments and very affordable space planning (with the odd schoolgirl error in socket/shelf/splashback coordination along the way). The expensive bits first…the sink itself and the Quooker tap and soap dispenser. I went large with the sink because I am exceedingly clumsy. Too often in the past I’ve drenched myself with a tidal wave of scummy water while wrestling oven trays around to give them a decent wash. This Blanco sink is sufficiently wide for total submersion and having had a similar sized one in the old house I wouldn’t be without it. As a bonus, we had the extra space here for a half-sink too.
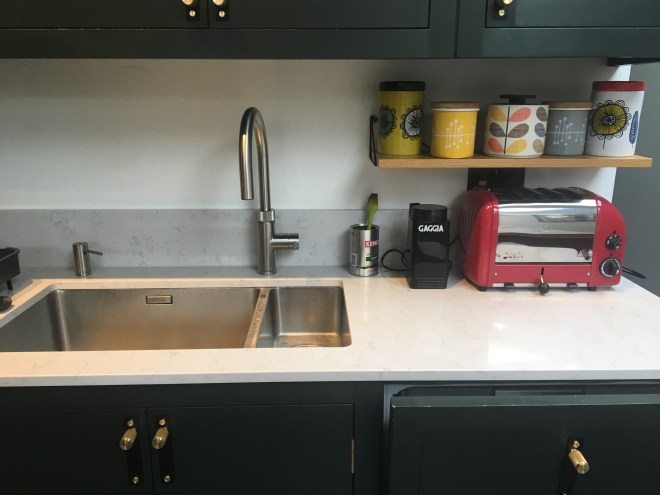
The previous kitchen had also sold us on a boiling water tap. It seems like an extravagance, but when you’re busy and worn out the time saved on boiling a kettle for the kids’ pasta or the after dinner decaff is a godsend. This version has a stretchy hose inside, great for rinsing the washing up. And it saves on the space for a kettle. The matching soap dispenser was pricey but it’s extremely neat and beautifully engineered – you refill it from the top and the design means that you can dispense soap without using your hands when you’ve been handling poultry or similar.
This installation didn’t come without trauma though. There was a period just after we completed the kitchen when the Quooker would gradually start to behave strangely, then pack up completely, and we’d look under the sink and find its plug halfway out the socket. Being the naturally calm and sane person I am, I leapt to the obvious conclusions that we had either a secret malign lodger, a regular gaslighting housebreaker or a poltergeist…
It was only after about six weeks, when struggling to extend the spray hose fully, that I noticed its under-sink section was looped around the power cable, and pulling one was progressively yanking the other out. Tears of relief were wept that day (it was a long project).
So where is everything else you’re asking yourself – because I’ve looked under the sink, and around the sink, and I can’t see any dishwasher tabs, or washing up liquid, or other appropriate washing up detritus. Well that’s because they’re here…


I’m really pleased with these which are definitely among the cheapest of my design ideas – two little caddies screwed to the doors which keep the washing up essentials to hand, at a sensible height – and away from the general untameable chaos of the undersink world.
And now back up top for more cheap and cheerful ideas. Given that this kitchen was all about tidy worksurfaces it might seem odd to have the tea and coffee caddies out.
But I didn’t want the new space to be too pristine, and I’d fallen in love with their cheerful lineup on the window sill of my old kitchen.


To work it needed the neatest possible brackets, and these Pythagoras ones from Maze worked perfectly – with a shelf that Davonport made to match the cupboard interiors. A quick adjustment to the socket height (there’s always something) and we were done.
